Introduction and Learning Objectives
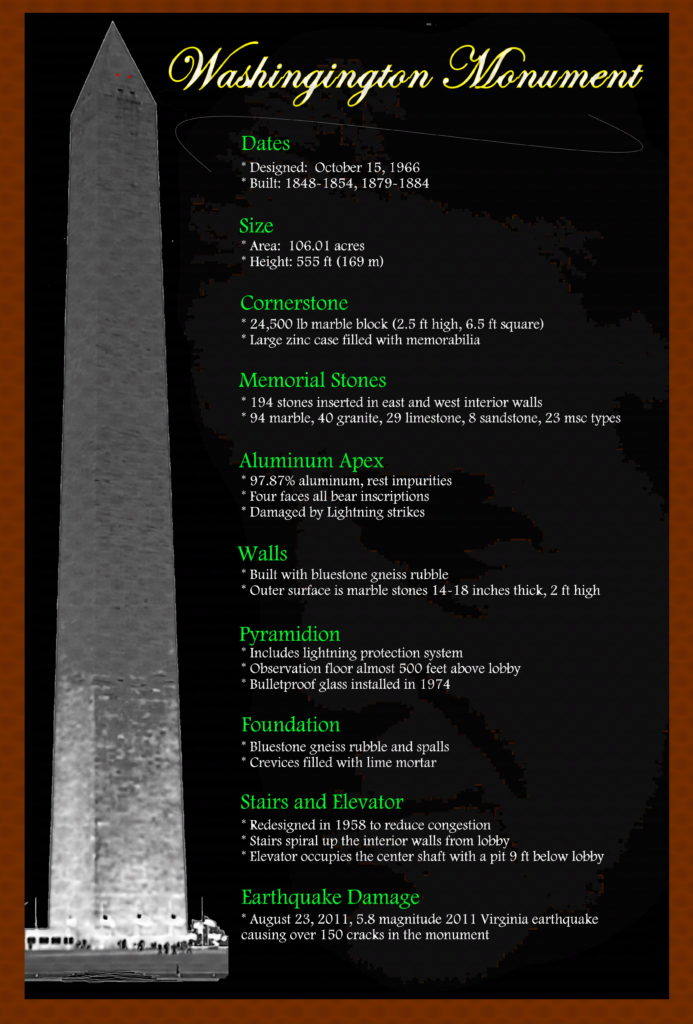
The purpose of this image is to teach about the Washington Monument. Key facts include, date built, components, etc.
Original File Links & Licensing
The photo of the Washington Monument was taken from my camera. The background photo of me also taken from my camera. The data about the Washington Monument comes from Wikpedia.
Techniques
I cropped myself out of the Washington Monument image. The photo of me that I used as a wallpaper was flipped (rotated), brightness dimmed, and color changed to a dark gray. Image sizes were changed. I removed clouds from the Washington Monument. I adjusted the color vibrancy. I used a brush to paint red lights at the top of the monument. I rendered the image with turbulence. I sharpened the photo. I reshaped text. I aligned the text in a path. I added a curved line. I used the brush to normalize the base of the Washington Monument.
Design Elements
I contrasted the Washington Monument against the background. I contracted the text against the background. I repeated the colors of the headings and subtext. I aligned the Washington Monument vs the Text, and placed my background image handomly. The proximity of the Washington Monument is properly to the left, next to the alignment of the text that stays properly within boundaries. .
Reflection
I learned how to use an image as a background and subtly dim it so it may not necessarly be noticed. But it offers contrast, which is good. Unfortunately i relied on a old tool I’m comfortable with: paint.net. I will attempt to use Illustrator in the next lesson but this time I wanted to not battle time when I already know how to do this using an open source tool.